We talk to a lot of
people who are building some sort of work bench. We have a very simple design
that most people can build. We have a few of these at our Corporate Offices for
Ollie to play with. Here's his design:
|
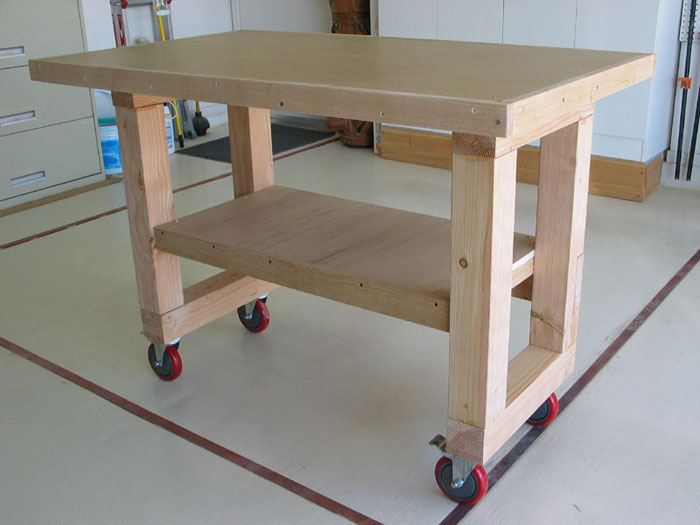 |
This bench can
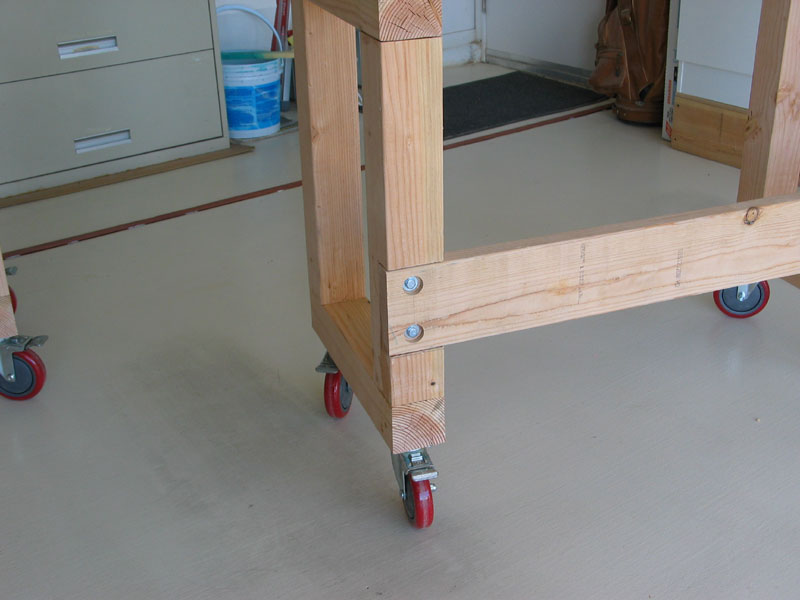
be made any size by using a few simple dimensions: Front overhang should not be
too big as it may tip forward so go with something that doesn't put the
finished edge too far in front of the casters; The sides and back overhang
should be about 3"; standard workbench height is 36" to 38". We stand to work
on ours so we like them around 37". When designing your bench, remember to
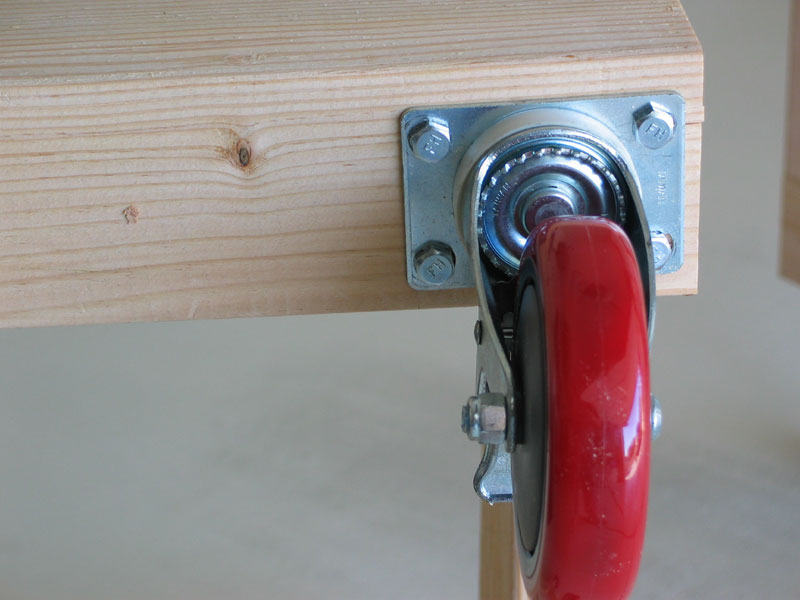
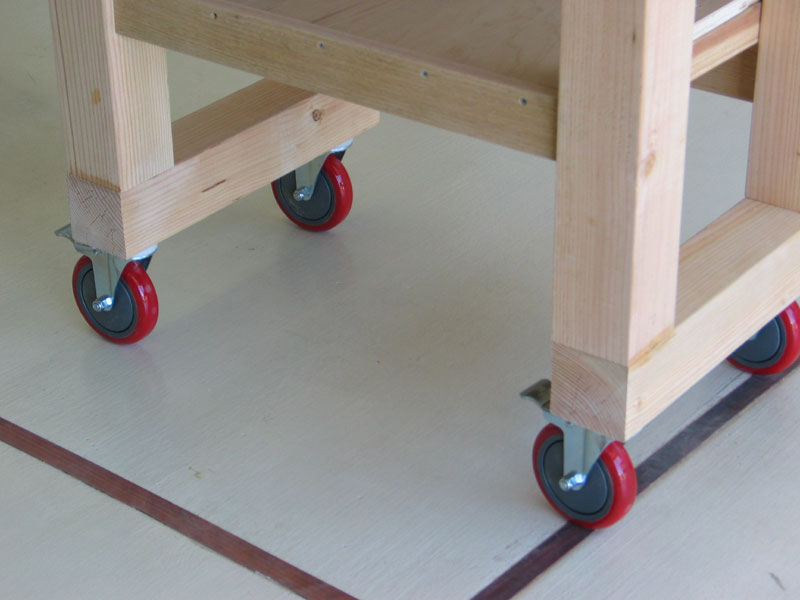
include the "overall mounted height" of the casters. We used 5" wheels so our
caster height was 6 3/16". We used our Model 3A Total Locking Plate mount
caster, a RED Polyurethane wheel with precision sealed ball bearings. Ollie can
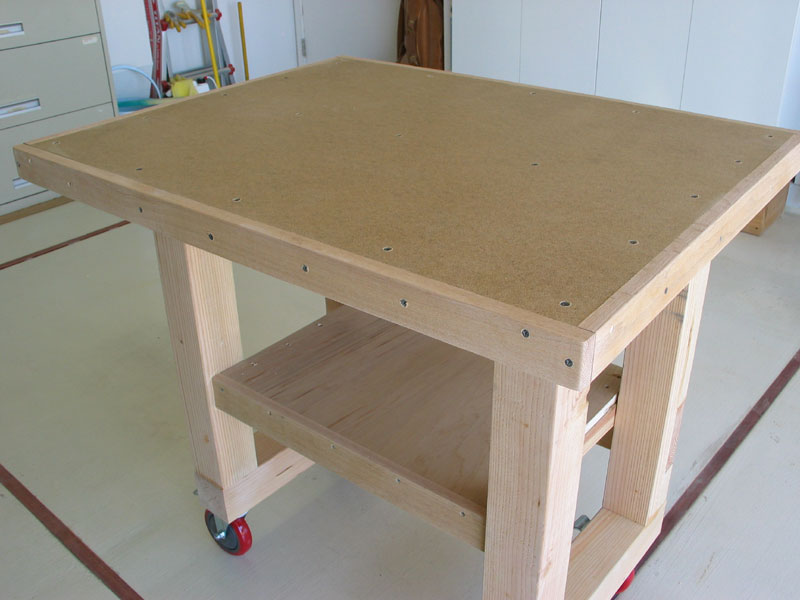
be a little tough on these benches so when we make the top we glue and screw 2
layers of 3/4" plywood together. On top of that we screw ( no glue ) a 3/16"
hardboard ( masonite ) which can be replaced when it gets damaged. By just
using screws for the top layer it can easily be replaced with another piece of
hardboard. We edged the top and the shelf with Oak and again just attached with
drywall screws. It can be taken off to be cleaned or replaced with ease. |
Materials:
(
2 ) 4" x 4" x 8' Douglas Fir - For the sides
( 1 ) 2" x 6" x 8' Doublas Fir
- For the back "stringer" between the sides
( 1 ) 4' x 8' x 3/4" Plywood -
For the Top and the Shelf
( 1 ) 4' x 8' x 3/16 Hardboard ( Masonite ) - For
the Top ( Optional )
( 8 ) 5/16" x 6" Lag Screw with Washers - Used for the
construction of the sides.
( 16 ) 5/16" x 1 1/2" Lag Screws to attach
Casters
( 8 ) 5/16" x 3" Lag Screws with Washers - For attaching the back
"stringer" & the top.
( 1 ) Box of 1 1/4" dry wall screws.
Wood
Glue
Oak or other wood to "band" the top and the edges of the shelf ( we
used oak )
( 2 ) Small side braces for the shelf.
( 4 ) Model 3A Plate
Mount Total Locking Casters
|
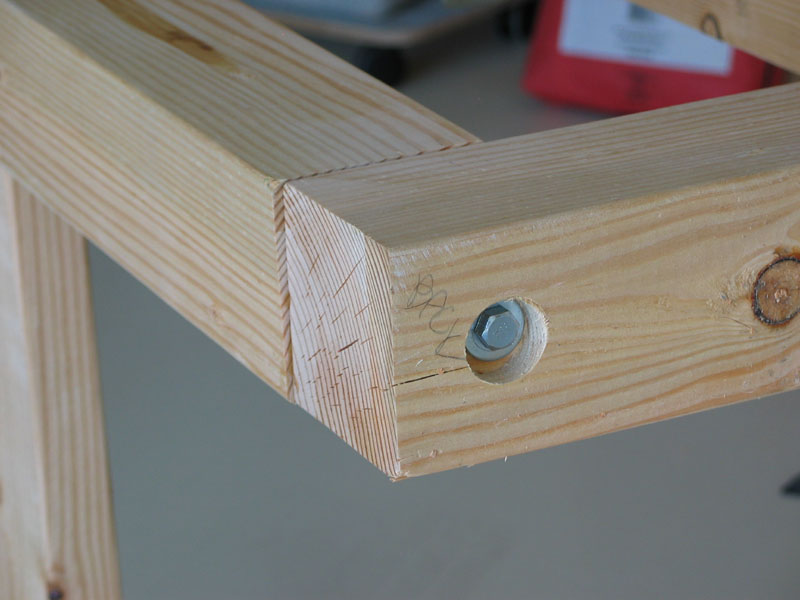
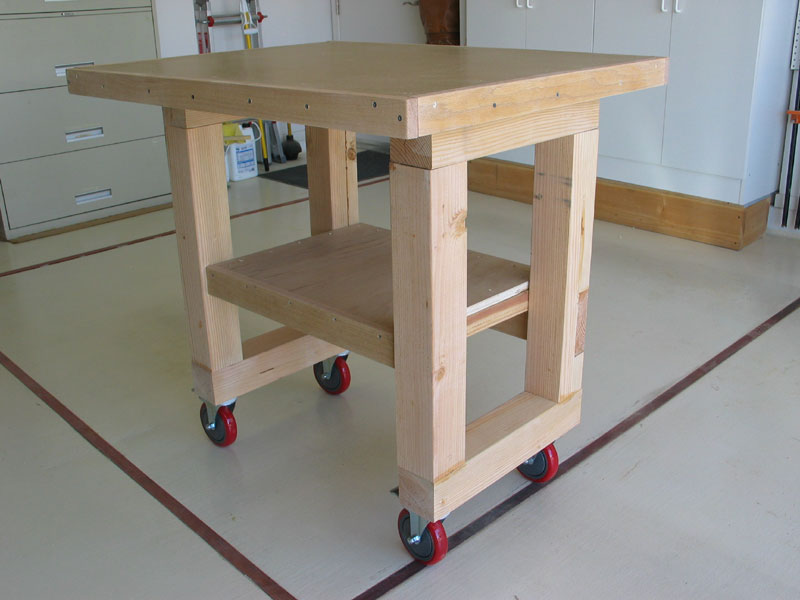
Using the photos below,
you can figure out how it's assembled. When making the "box" sides, wood glue
and Lag screw them together. It is very important when cutting the 4" x 4" to
make sure that the ends are "square" ( 90 degrees ) otherwise your "boxes" will
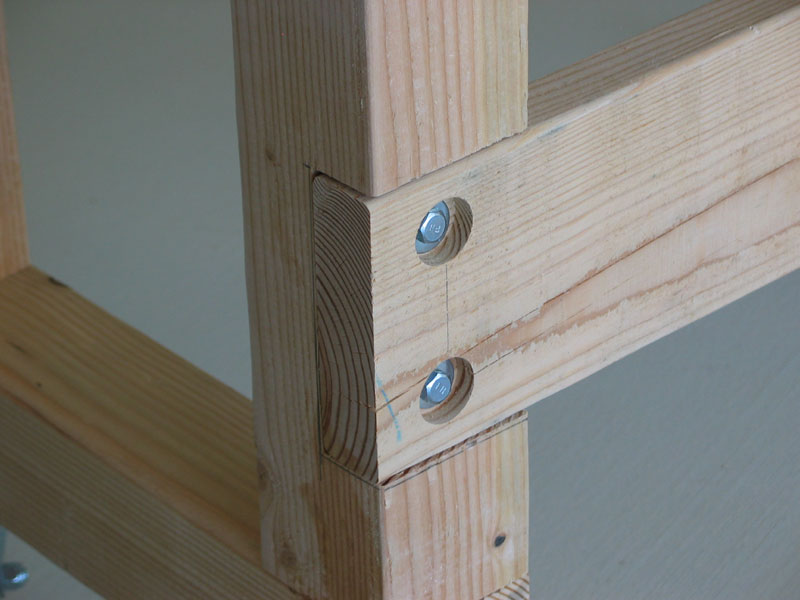
not be square and level. "Let in" the rear stringer, glue and attach with lag
screws. Use the stringer as the rear shelf support. Sandwich 2 pieces of
plywood together with drywall screws and glue. The result will be a VERY strong
1 1/2" thick top. I
|